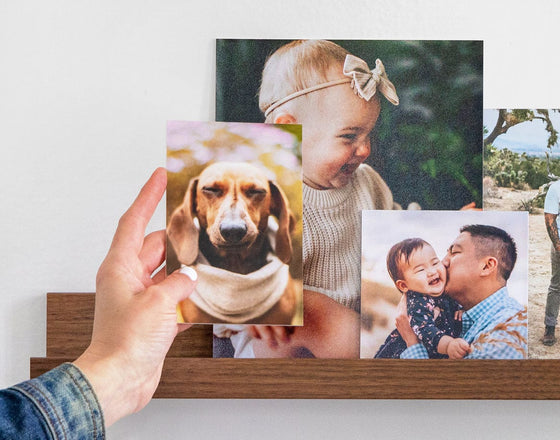

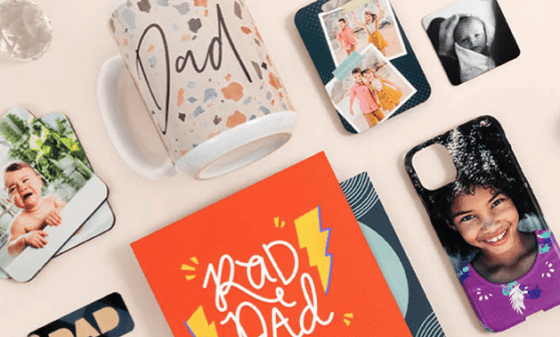


Storyboarding is an essential part of a photographer’s creative process. Whether you're planning an engagement session, a brand shoot, or a wedding day lineup, taking the time to storyboard helps bring clarity to your vision. In this post, we’ll share simple and effective tips on how to create a fully detailed storyboard to help you prepare for your next session. Once your shoot is complete, you can turn your final shots into lasting memories with our curated collection of Photo Albums and Books.
What is a Storyboard?
A storyboard is a visual plan or outline that maps out the key shots, poses, or scenes a photographer wants to capture during a photoshoot. Typically, it includes a sequence of images, sketches, or descriptions that reflect the intended flow and feel of the session.
What is the Purpose of a Storyboard?
In photography, a storyboard serves as both a visual guide and a communication tool. It helps ensure consistency in tone, shot style, and storytelling. Whether you're shooting solo or collaborating with a team, a storyboard allows everyone to align on creative direction and understand what to expect. This is especially helpful when working through a detailed shoot like a wedding. Check out the Ultimate Wedding Photoshoot List for more in-depth planning inspiration.
Tips for Creating the Perfect Storyboard
1. Create a Photography Mood Board
Start by collecting images that reflect the vibe, theme, and look you want to achieve. This can include color palettes, wardrobe inspiration, lighting ideas, or prop suggestions. Think of it as your visual reference guide—a mood board will help you maintain consistency throughout the shoot and can be referred back to when planning your storyboard. To get you started, check out our blog How to Create a Moodboard for Your Photo Shoot (& Why You Should!).
2. Choose a Storyboard Tool or Template
There are plenty of online tools and software options that can help you create a polished storyboard, such as Canva, StudioBinder, or Adobe Express. Or you can go analog with a printable storyboard template. Choose a format that works best for your workflow and allows you to easily organize visual elements and shot notes.
3. Define Shot Details
Include technical details like camera angles, lens type, and framing for each shot. Are you going for a wide landscape scene or an intimate close-up? Specifying these choices ahead of time ensures you’re fully prepared the day of the shoot and won’t miss any key shots.
4. Define Location
Knowing your shoot location allows you to plan for logistics like natural lighting, weather conditions, and background elements. This is especially useful for outdoor shoots. For more guidance on scouting locations, check out our guide on how to find a good location for an outdoor photoshoot.
5. Define Specific Poses
Write out descriptions for key poses or interactions you want to capture. These could be simple prompts like “walking hand-in-hand” or “candid over-the-shoulder glance.” Having these in writing makes it easy to keep the shoot moving smoothly, especially when directing people who aren’t professional models.
6. Upload Inspiration Images
Support your storyboard with reference images, either from your mood board or sourced from other shoots. These can help communicate your vision to models, clients, or crew and give everyone a clearer picture of the look you’re going for.
7. Share Your Storyboard
Once your storyboard is complete, share it with everyone involved in the shoot. This includes clients, second shooters, stylists, or assistants. Not only does this help align expectations, but it also invites collaboration and feedback that can improve the final result.
Photoshoot Storyboard Template
For reference, here's a simple template for a storyboard that you can download for free! Add an image or sketch, description, and any details like camera settings or poses.
[CLICK TO DOWNLOAD]

Final Thoughts
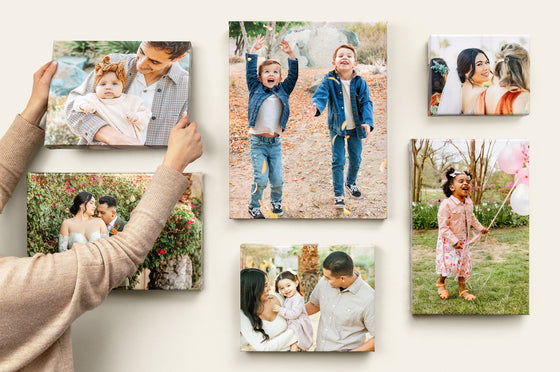
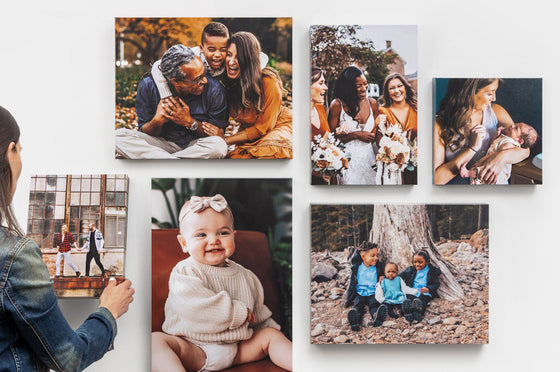
Creating a storyboard might seem like an extra step, but it’s one that can save you time, improve communication, and elevate the quality of your photoshoot. With clear planning and visual references, you’ll walk into your session with confidence and leave with images you’re proud of. When you're ready to bring those photos to life, explore our high quality Photo Prints or turn them into unforgettable Photo Gifts.