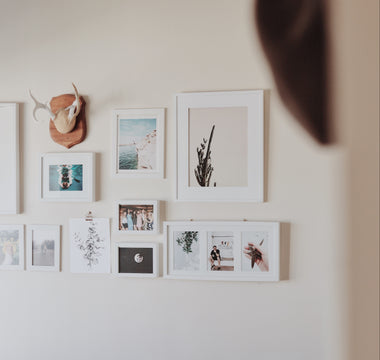


Want to elevate the look of your space? Look no further than a custom Framed Print. From 17 style frames and 8 size ranges, our beautiful Frames are works of art themselves! If you’ve ever been curious of how they’re made, our talented team of photo experts are sharing the 5 step process to making our Framed Prints.
1. Printed and prepped
After your photo is printed on Epson Premium Luster Photo Paper it is prepped for the frame. The backing is cleaned and all lint, dust, or any other particles are removed. The Print is then carefully adhered to professional grade foamcore to provide a sturdy backing inside the frame.
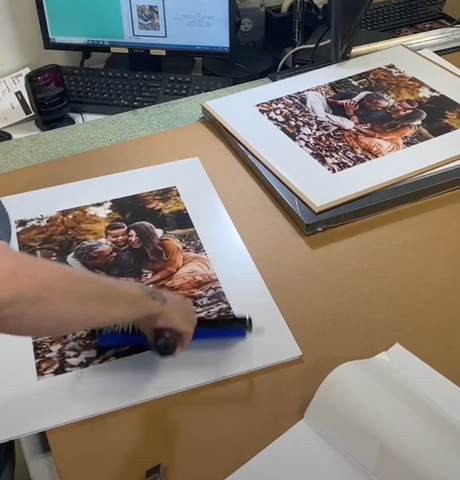
2. Matting
Next the selected matting is applied to the print using adhesive to the border of the Print. The photo expert carefully adheres your matting to the print and aligns it so it perfectly displays your photo in the frame.
3. Frame assembly

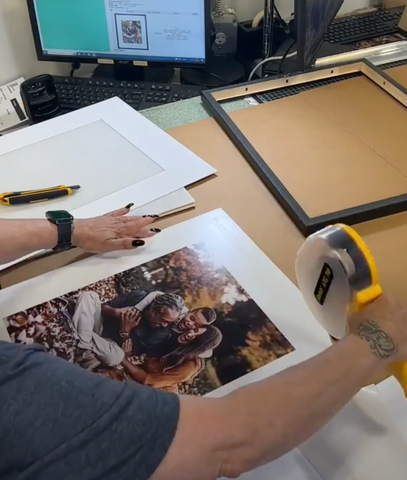
Next your frame is assembled! The plastic is carefully removed from the clear acrylic front of the frame, which protects the prints from UV rays, dirt, and dust. When it is perfectly lined up it is placed into the wooden frame of the customers choice.
To secure the photo into the frame, the boarder of prongs surrounding your print are adjusted to secure the photo tightly to the frame. For added security a fitted piece of cardboard is then stapled to the print backing. Tape is then added so the paper backing can be fitted so the print looks seamless and clean from the back.
4. Hardware is added
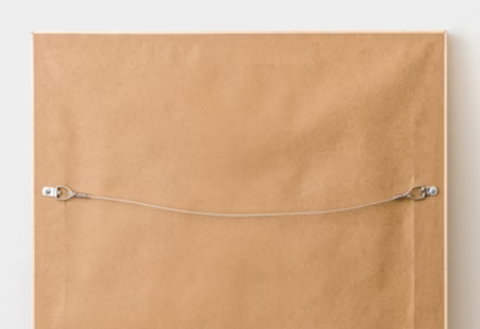
The hardware of the customer's choice is then securely added to the back of the frame. We have 3 choices, Wire, Sawtooth Hanger, and Table Top Easel. After a quick quality check the frame is now headed to the last step!
5. Packaging

Finally the print is ready to be packaged! To ensure your Frame is safe in transit our team carefully covers the corners in fitted styrofoam, attaches it to cardboard and securely wraps it in a fitted plastic wrap. It's then bubble wrapped, added to the box, and stuffed with extra paper for a secure transit. The finished product is then ready to be shipped and delivered to you!
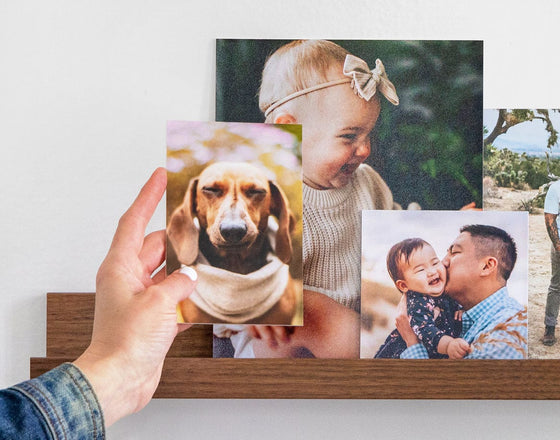
Shop our Photo Prints, Wall Decor, Photo Gifts, and more!