

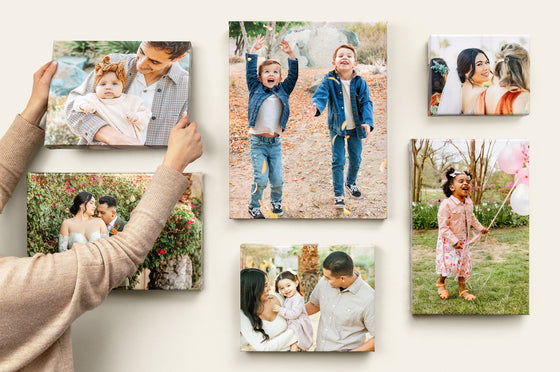


There's something uniquely satisfying about displaying your favorite photos in a frame you made yourself. DIY picture frames have surged in popularity for good reason — they're cost-effective, endlessly customizable, and add a personal touch that no store-bought frame can replicate. Whether you're a seasoned crafter or a complete beginner, there's a DIY frame idea out there for you. Here, we'll share some of our favorite ideas for DIY picture frames at every skill level, along with the best materials to use. From rustic reclaimed wood to playful washi tape, these creative approaches work beautifully with all kinds of Photo Prints — so get printing before you start crafting.
Best Materials for Picture Frames
Before diving into the ideas, it helps to know your options when it comes to materials. The right choice will depend on your budget, skill level, and the aesthetic you're going for. Here's a quick breakdown:
- Wood (oak, pine): The classic choice for a reason. Wood offers a timeless, durable finish that can be easily sanded, stained, or painted to suit any style — from farmhouse rustic to sleek and modern.
- MDF: A budget-friendlier alternative to solid wood, MDF is smooth, easy to work with, and takes paint exceptionally well. It's a great option if you want a polished finish without a high price tag.
- Metal: For a sleek, minimalist look, metal frames are hard to beat. They're lightweight, durable, and lend a contemporary edge to any display.
- Acrylic: Shatterproof and safer than glass, acrylic is an ideal choice for wall-hung frames. It can also be painted on, making it a versatile option for more decorative projects.
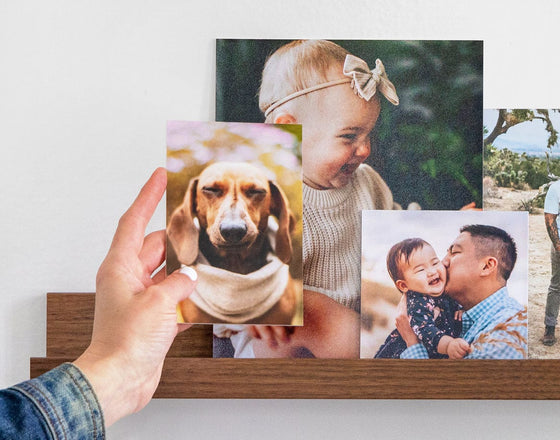
For more inspiration on finishes and formats, take a look at our materials guide, or browse our range of Wall Decor for ideas on how to style your space.
DIY Picture Frame Ideas
Ready to get creative? Whether you're making something from scratch or upcycling materials you already have at home, these ideas are a great place to start. Before you begin, it's worth checking our wall art size guide to make sure your frames are sized correctly for your prints.
1. Reclaimed Wood Frames
Wood frames are the most popular DIY choice, and reclaimed wood takes the concept to another level. Source old timber from a previous home project, a salvage yard, or even a wooden pallet — the more weathered, the better. The natural imperfections and grain variations give each frame a one-of-a-kind texture that brand-new wood simply can't replicate. For a finishing touch, apply a light wood stain to enhance the natural tones and protect the surface.
2. Twig and Twine Frames
For a boho or woodland-inspired look, gather a handful of straight sticks and tie them together at the corners with natural twine. It's a wonderfully simple technique that results in something that feels handmade in the best possible way. This is also a brilliant rainy-day activity to do with children — collect the sticks together on a walk, then let them help with the tying and assembling. The finished frame is perfect for a nature-themed timeline photo wall that tells a story over time.
3. Cardboard Frames
Don't underestimate the humble cardboard frame. Made from sturdy shipping boxes or thick craft card, cardboard frames are beginner-friendly, budget-conscious, and surprisingly effective. Cut your frame to size, then let the decorating begin — cardboard takes paint, markers, paper, and embellishments with ease, making it one of the most versatile canvases to work with. It's a particularly fun option for kids' rooms, school projects, or gifting.
4. Clipboards
For an industrial, utilitarian aesthetic, consider hanging a row of clipboards and simply clipping your photos or prints onto them. It's a practical approach with real style — and the beauty is how effortlessly you can swap out images whenever you fancy a change. Because no nails are going into the photos themselves, it's also a renter-friendly option that causes minimal wall damage and is easy to take down when you move.
5. Washi Tape Frames
Washi tape might be the most accessible DIY frame option of all. Simply position your photo on the wall and use decorative washi tape to create a border around it — no tools, no mess, no damage to the wall. With hundreds of patterns and colors available, you can match the tape to your room's palette or mix and match for a more playful, eclectic look. It's budget-friendly, renter-friendly, and takes all of five minutes to put together.
Frame Decorating Tips
Once you've built or sourced your frame, the decorating is where the real fun begins. These techniques work across almost any frame material and suit a wide range of styles and skill levels.
1. Painting
Paint is the most straightforward way to personalize a frame, and the options are virtually endless. Go for a single bold block color, try a two-tone design, blend shades into an ombre effect, or use stencils for a more detailed pattern. For the more artistically inclined, painting freehand doodles or lettering directly onto the frame adds a bespoke, handcrafted quality. This is also a wonderful activity for children — let them paint and decorate their own frames for a childhood keepsake or a heartfelt handmade gift.
2. Wallpaper
Wrapping a frame in patterned wallpaper is an easy, effective way to add color and personality without any painting skills required. Cut a piece of wallpaper to size, apply it with craft glue, and smooth it down for a neat finish. Leftover wallpaper from a decorating project works perfectly here, making it a great way to reduce waste while adding a cohesive, designer touch.
3. 3D Embellishments
For a frame with real texture and depth, try decorating it with three-dimensional embellishments — seashells, buttons, beads, sequins, or pebbles all work beautifully. This technique is especially meaningful when the decorations connect to the photo inside the frame: seashells for a family beach trip, pressed flowers for a garden portrait, or tiny charms that reference a favorite memory. It transforms the frame into as much of a keepsake as the photo itself.
4. Fabric Scraps
Wrapping or collaging a frame with fabric scraps creates a tactile, scrapbook-style effect that's unlike anything you'd find in a shop. Mix different colors, patterns, and textures for a patchwork finish, or keep it intentional with fabrics that carry sentimental value — a square of fabric from a baby's first outfit for their newborn photo, or a piece of a loved one's favorite shirt used to honor their memory. It's crafting with real heart behind it.
5. Scrabble Pieces
Gluing Scrabble tiles onto a frame is a charming way to add a personal message, spell out a name, or mark a date. Arrange the tiles to read a meaningful word, a favorite quote, or simply the names of the people in the photo. You can also incorporate other game pieces — dominoes, dice, or vintage tokens — as additional decorative elements for a quirky, conversation-starting display.
Conclusion
DIY picture frames are a creative, cost-effective way to display the photos that matter most — and they offer a level of personalization that no off-the-shelf option can match. Whether you're working with reclaimed wood for a rustic finish, washi tape for a quick and renter-friendly solution, or fabric scraps with sentimental meaning, there's an approach for every skill level and every style. Once you've built and decorated your frames, fill them with your favorite memories and create a display that's truly your own. And if you'd prefer a frame that's ready to go straight out of the box, explore our range of Framed Prints for a polished, professional alternative.