


As photographers, whether you’re a pro or just a hobbyist, we all want to be able to capture life’s special moments. Since we often don’t know when a special moment might happen it’s important to always be ready for a photo opportunity.
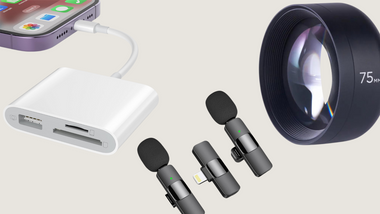
Lucky for us, this is easier than ever with the rapid increase in cell phone camera quality. It’s often said that the best camera is the one you have with you, and most of us have our phones with us at all times.
So here are some tips and tricks to help you get the best images with your phone camera:
1. Quick access to camera
Great photo opportunities only last a few seconds before they’re gone, so it's important to have quick access to your phone’s camera. On the iPhone, from the lock screen simply swipe left to access your camera, or swipe up and tap the camera icon. Or press and hold the camera icon in the Control Center screen to immediately pull up a multiple choice option menu with Take a Selfie, Record a Video, Record Slo-Mo, and Take a Photo.
2. Focus on your subject
After tapping your finger on the screen and on the subject of your photo to set focus, slide your finger up to brighten or down to darken the image. This is great for backlit situations when you would need to brighten your subject. Or you might want to darken the image to create a silhouette. Your camera is simply a tool and so it’s up to your to artistically take control of your overall image exposure.
3. Adjust focus and exposure
Tapping and holding on your camera’s screen will lock the focus and exposure and enable you to recompose the image without changing your exposure or focus. You can also adjust the locked exposure brighter or darker by sliding your finger up or down as mentioned in the previous tip, and it will stay locked with your new modified exposure as you change your composition. Tap anywhere on the screen again to turn it off.
4. Add a filter
Selecting the icon with three little circles opens up your filter choices to change the look of your photo. This filters can also be selected after you take the photo by clicking on Edit. If you change your mind you can also select Revert to remove all edits done to the photo.
5. Use Burst Mode
Holding your finger on the shutter button fires the camera in burst mode capturing many images per second. Then tap on Select to be able to view them all. This is great for action shots and also for group photos so that hopefully you get a shot with nobody blinking!
6. Rule of Thirds
In Settings go to Camera and turn on Grid to help you compose your photo with the Rule of Thirds compositional aid.
7. Use HDR settings
Use HDR (high dynamic range) mode in difficult lighting situations with a wide range of very bright and dark areas. This mode combines 3 different exposures into one final image. Results vary so go to Settings/Camera and select the option to Keep Normal Photo which saves your original image as well as the HDR version.
8. Capture the photo with alternate solutions
Reduce camera shake by using your headphone volume controls to trigger the camera’s shutter. If you have Bluetooth headphones you can be totally wireless and completely remove camera shake with your phone mounted on a tripod.
Other ways to trigger the camera include using the volume controls on the side of the camera or the self-timer. You can also use an Apple Watch to trigger the shutter on your iPhone and also to provide a remote viewfinder.
9. Clean your lens
This may sound obvious, but a dirty lens will decrease the quality of your photo. Don’t forget to clean it before you start snapping away!
10. Edit your photos
Finally, improve your photos with photo editing apps such as Snapseed and VSCO. These apps will allow you a wide range of control over your image with adjustments to exposure, white balance, contrast, saturation, cropping, sharpening, adding effects and much more.
We hope these tips help you master the art of cell phone photography. What are your best cell phone photography tips?
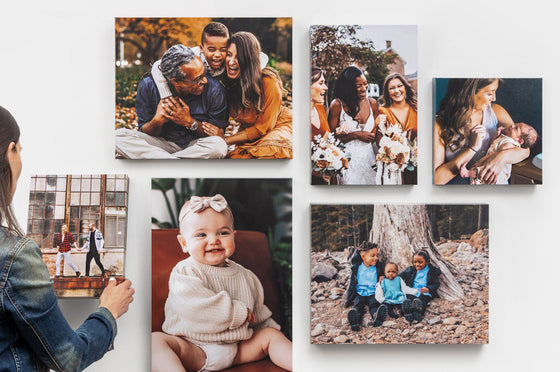
Shop our Photo Prints, Wall Decor, Photo Gifts, and more!