

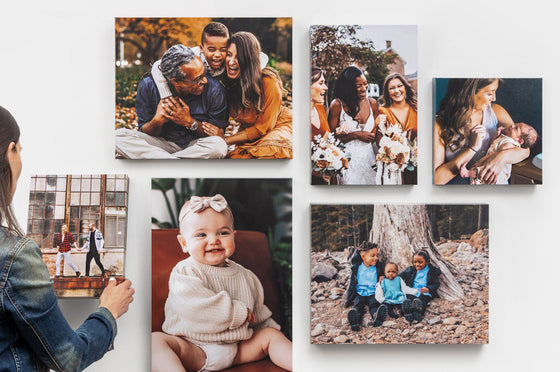


It happened: your professional Photo Prints arrived and you’re ready to hang them! It's very common for your large prints to arrive with curled edges, but this is an issue that is easily fixed. Here, we’ll teach you how to flatten your prints in just 5 easy steps.
Why Do Photo Prints Arrive Rolled?
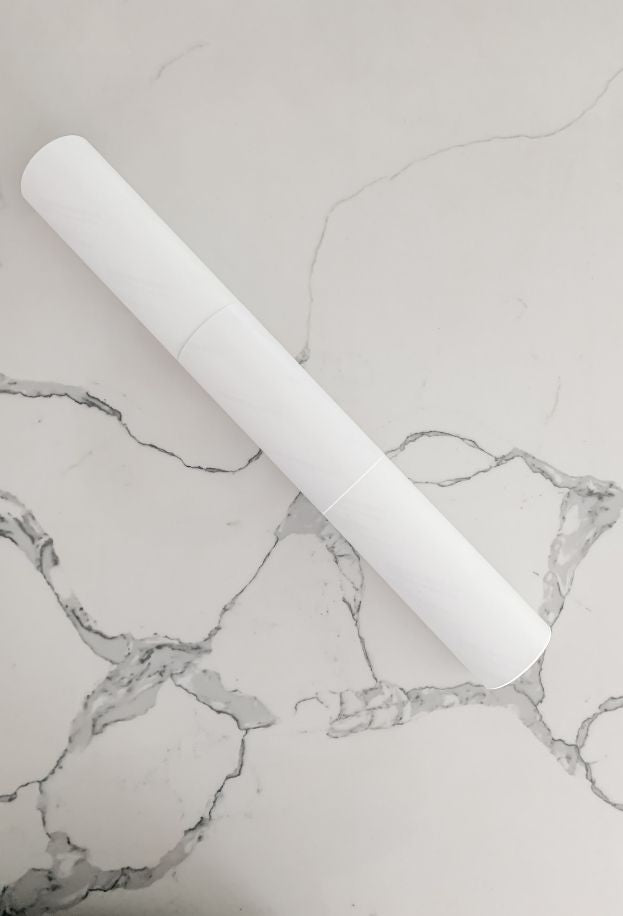
In order to keep your large Photo Prints safe in transport, we ship them rolled in triangular tubes. This helps prevent the edges from getting damaged and reducing chances for creasing in the middle of your favorite photograph.
How to Flatten a Rolled Print in 5 Simple Steps
So, what’s the safest way to flatten your rolled Prints? Check out these tips:
1. Clean Hands and Surfaces
Before you start unrolling, stop and make sure your hands and the surface area you’re working on are clean. Any grit or dirt on your fingertips can bruise the Print, plus any oils on your skin can leave unwanted marks.
2. Only Touch the Edges
When handling your Print, only touch the edges – keep your fingers away from the main part of the image! If you have it, place a piece of smooth paper on your working area that’s bigger than your Print. (If you don’t have a piece of paper, that’s okay! It’s just an extra layer of protection.) At Nations Photo Lab, we use smaller scraps of photo paper to wrap your Prints, so there’s no fear of tearing the print when you undo the tape. You’re free to tear – or even cut open – that tape and start unrolling.
3. Place the Print Image Side Down
Carefully place the Print image-side down on your smooth paper or clean workspace and begin to unroll. You want to be gentle so you don’t accidentally crease your Print.
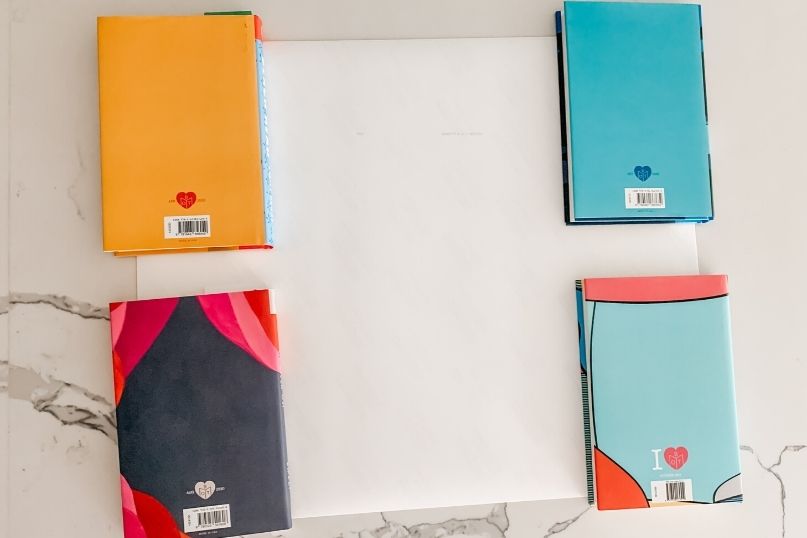
4. Place Heavy Objects on the Print
When your Print is fully face down, take some smooth, flat, heavy objects (i.e. books) and place on the ends and even the middle of your Print. Let it sit overnight!
5. Wait 24 Hours
Once it’s been 24 hours, check your Print. If it’s still not laying flat, put your heavy objects back on it for a couple more hours.
What Factors Can Influence Flattening Time?
When it comes to flattening your photo prints, several factors can impact how long the process takes. Here’s what to consider:
-
Size: Smaller prints may flatten naturally under their own weight, especially if they’re printed on lightweight paper.
-
Temperature and humidity: Prints can take longer to flatten during cooler months. Aim for a warm, dry environment for quicker results.
-
Paper types: Thicker paper stocks, like those used for premium or professional-grade prints, may require more time and gentle pressure to flatten completely. Learn more about paper types here.
-
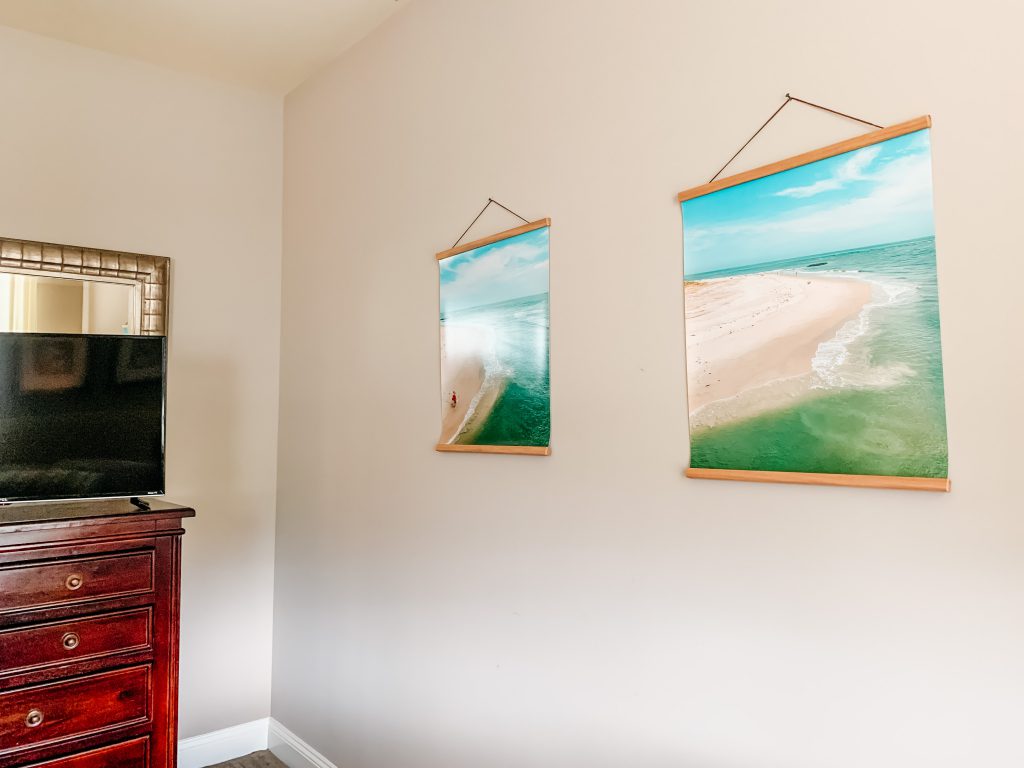
Display intentions: The final destination of your print matters! If you're framing or mounting, refer to our wall art size guide to make sure you're choosing the perfect print for any project.
Dos and Don’ts of Flattening Photo Prints
Keep your prints looking their best by following these flattening best practices:
-
Don’t bend the print or try to force it flat—this can cause creases or permanent damage.
-
Don’t use steam or expose your print to moisture, which may distort or ruin the image.
-
Do make sure your hands and work surfaces are clean to avoid smudges or scratches.
-
Do be patient—larger or thicker prints will take more time to flatten properly.
-
Don’t attempt to flatten aluminum prints. Metal Prints are not meant to be reshaped and could get damaged if force is applied. If your aluminum print appears warped or bent, reach out to customer service for support.
Ready to print your favorite moments? Shop All Photo Prints.