Hanging art and putting holes into your walls can be intimidating, but it doesn't have to be! Wall decor can bring so much life to a space needing some personality. Become your own handyman or woman with our tips for hanging like a pro!
1. Location, location, location!
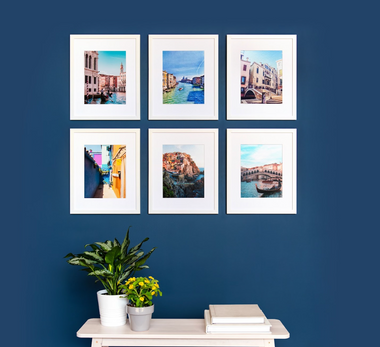
Part of what can make your wall decor look professional is the height and scale of your hanging art. Size definitely matters but it doesn’t always mean your art has to be huge, it just should have intention in it’s space! We have tons of helpful tips here, but a good place to start is the average eye level, about 57 inches above the ground. If you plan to hang a cluster of different sized photos, always start with your largest first.
2. Have the right tools.
You don't need to have a garage full of tools to hang art successfully. Take a look at what you are trying to hang and get an understanding of what is needed to safely secure it to the wall. If you are working with heavier frames or pieces, try using a stud finder or make sure you have the proper sized dry wall anchor. We also recommend a tape measure, level, drill and ladder depending on the height of your art.
3. Measure twice, hang once!
Double check the spot of your nail, anchor, or screw before you place any holes in the wall. Using a pencil to clearly mark out where you plan to drill will ensure you have the right spot. If you are hanging a gallery wall, take the time to do the math and really plan out your spacing. Keep in mind that if you are hanging art with a wire, the wire could sag making it appear much lower than you anticipated on the wall.
4. Time to hang.
If you are using an anchor start by drilling a pilot hole, then gently hammer your anchor into the hole until its flush with the wall. Once complete, use a screwdriver to secure the screw into the anchor. If you are using a nail, it should be pretty simple, just tap the head of the nail with enough force to pierce the drywall and place your art on the nail. Use your level and adjust the piece as needed.
Don't let a temporary space keep you from giving your walls a little flare, there are tons of amazing damage-free hanging options you can look into! Try a Command Strip or a velcro solution that requires no tools.
5. Get creative!
When it comes to making a space your own, there are no rules! Add to your walls, leave some blank make it uniquely you by displaying art and photos that bring you happiness. And if all else fails, remember - holes can be patched and painted and you can start over again anytime!
What is your best tip for hanging wall art?