You don’t need a fancy studio or a breathtaking outdoor environment to take powerful photographs. You can do that right in your house! Here’s how to get great pictures in your home.
Find just where the light is.
Take a day to really get to know your space. The light changes in each room throughout the day, so observe which rooms get which optimal light at what times. Maybe you’ll discover that 2PM in your living room brings in the perfect amount of sunshine – that’s when you should plan to do some shooting.
Optimize the light outside.
Bring as much light in from the outside as you possibly can – that means opening all of your blinds and curtains! Sometimes overhead lighting can cast some yellow tones on your subjects, so adjust accordingly.
Set the stage.
That means get rid of any clutter in the area you’re shooting! If you don’t have the time for a thorough clean, that’s fine – just move your pile of laundry away from where you’re shooting.
Also, before you take a shot, try taking a close look through the viewfinder on your DSLR or phone. Check out the frame – is there anything in there that’s distracting, like discarded socks or multiple cups of water on a table? Quickly remove them before shooting!

Hit the angles!
If your subject is posing in a way that you want to capture, don’t stop at just one photo! Keep photographing and switch up your position and angle. Minimally, try above, below, and from the right and/or left side. You won’t believe how different one scene will look just by changing the perspective.
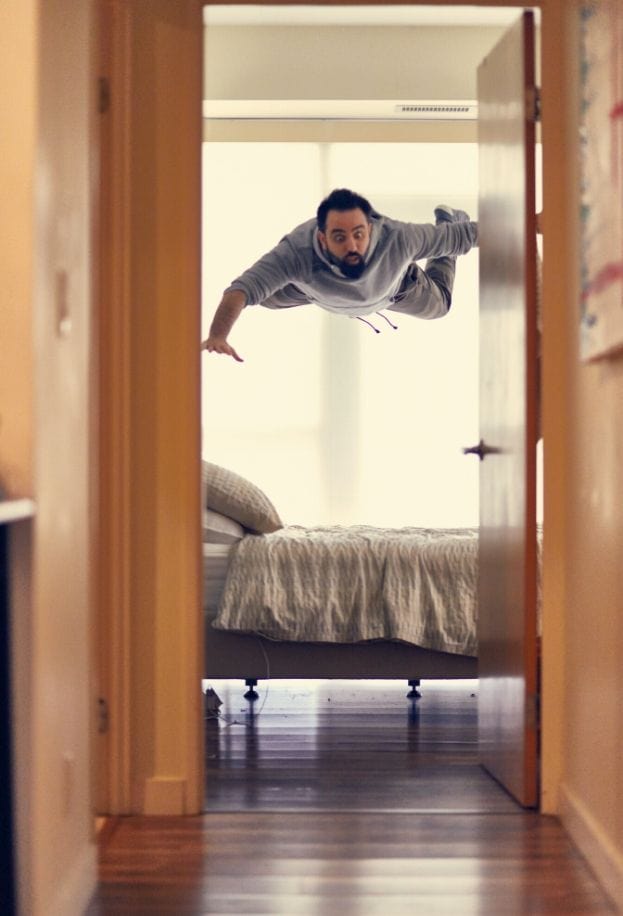
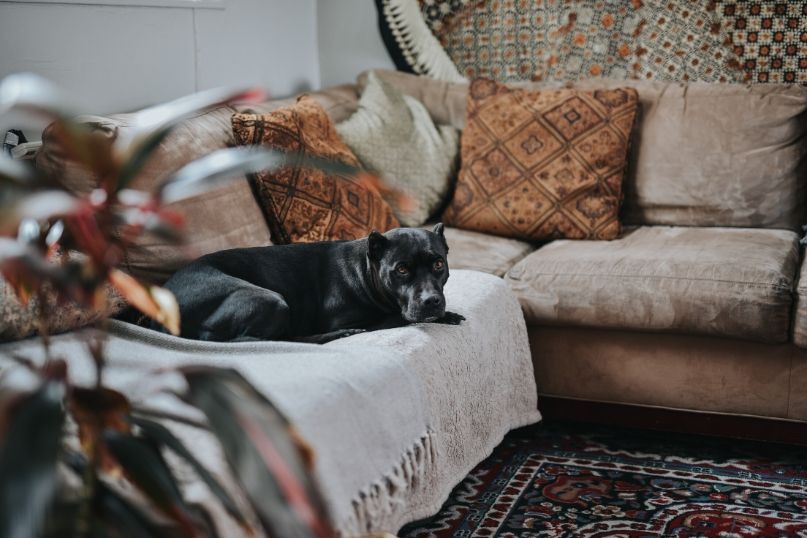
Don't forget framing.
You have some options for framing when you're inside. Try peaking through doorways, aligning your subject with the windows, or photographing through a piece of furniture or a plant in your home.
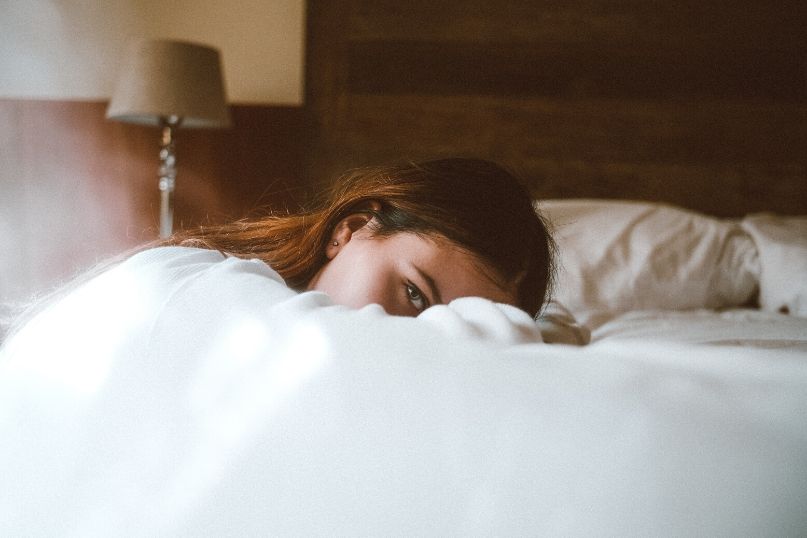
Play with light.
You can tell a different type of story with different types of light. Here are a few quick tips for achieving different types of lighting:
- Get a nice, glow-y back light by placing the subject between you and the light source (either a lamp or a window with sun streaming in).
- If you’re seeing a lot of haze or flare from too much direct sunlight, get rid of the sunlight! Shift your position or use your hand (or a lens hood, if you’re feeling fancy) to block it.
- Going for a dramatic look? Get stark shapes of light with the use of blackout curtains.
- Conversely, want to soften your subjects? Grab some sheer curtains or drapes and place them over the light source.
Have any other tips you'd like to share? Let us know in the comments!