Guest post by NPL Featured Photographer Matt Kloskowski:
When I print my landscape photos, I often already have a frame in mind. At this point, all I need is the perfect print! Wood frames are perfect for landscapes. They’re simple but well made, so the photos really stand out.
Don't let the complicated framing process discourage you from creating beautiful wall art from your favorite images. Here is my quick and easy system for sizing, printing, and framing my favorite landscape photos:
1. First, ensure that your photo is the perfect size.
Before uploading, I always make sure the image's resolution is perfect for my print. I usually aim for at least 150 ppi, or up to 240 if the image is large enough. Although folks usually recommend 240, 150 is definitely enough for most photos.
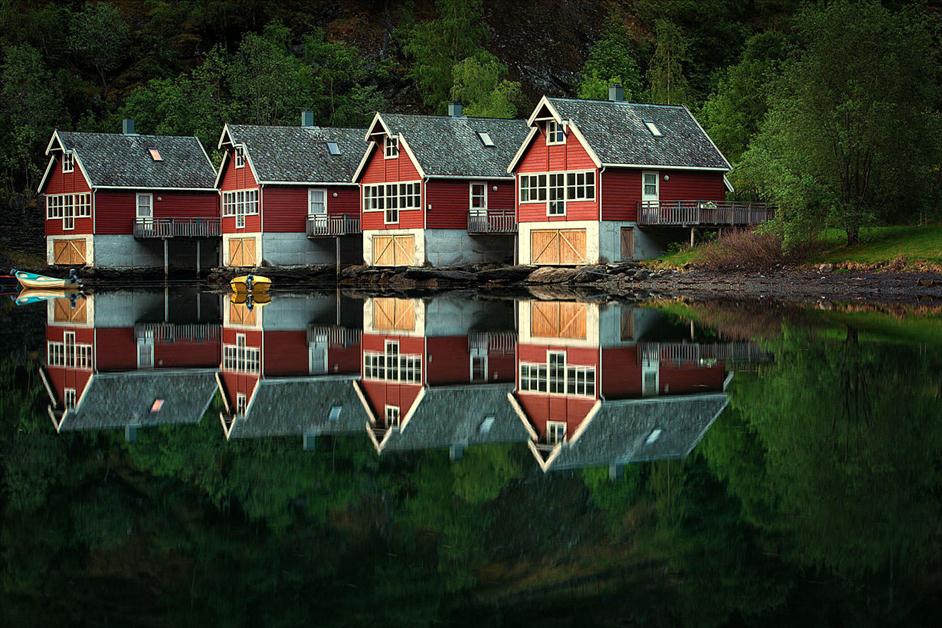
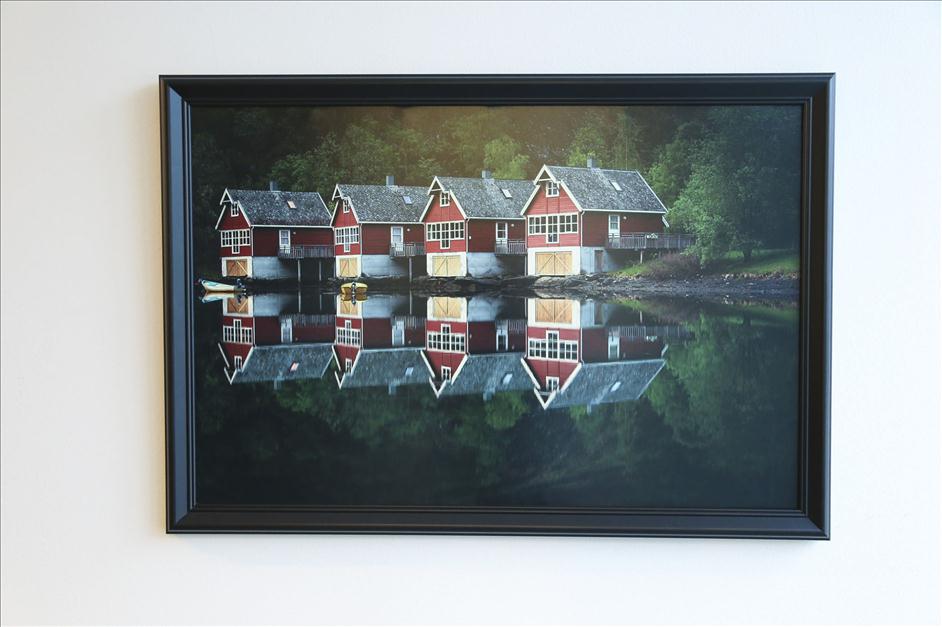
If you need your photo to be larger, Lightroom and Photoshop can resize pretty well up to around 100%. If you need to enlarge the photo more than that, you’ll want to use a program like onOne’s Perfect Resize. Here's the image I chose to frame:
Nations Photo Lab makes it really easy to ensure your photos will be sized correctly for your frame. For other frames, you typically have to increase the size by about 1/4" from what they typically recommend, so your image isn't covered by the inside edge of the matte. Luckily, NPL's ordering system makes it easy to drag and drop your images into whatever frame you choose, and the production team frames each print perfectly.
2. Add some brightness.
Often when we print our photos, our prints come out a little darker than we thought because we’re looking at them on nice, bright, back lit LCD screens. So it’s always a good idea to add a little Brightness. Try the settings I use below, since they work for me. I recommend that you record what you did and what the result was, because you may want to increase or decrease the settings next time.
In Lightroom, I bump up the Exposure slider by just a tiny bit (around .25). If you’re in the “Print” module, you can move the Print Brightness slider to about 20-30%. In Photoshop, I press Command+Ctrl+J to duplicate the layer. Then, I change the blend mode of the duplicate to Screen and reduce the opacity to around 20%.

3. Choose the correct color space & file format.
If you’re saving the image for printing at Nations Photo Lab, make sure you choose the sRGB color space. Then, save the image as an 8-bit JPEG file with a quality setting of at least 80% (or 8 in Photoshop). Higher quality settings are fine, but it will take you longer to upload your photo (plus, 80% works great).
When you’re ready to place your order from Nations Photo Lab, upload your JPEG file through ROES or through their web ordering system.
4. Insert your prints & enjoy your framed wall art!
When you finally get your prints in hand, stand back in awe and admire your work, critique them as only a photographer would, and get ready to hang some beautiful wall art.
Ta daaaaaa! Your walls can always use some love. Plus, the changing of the seasons is a great time to refresh your home, office, or classroom space.
To get started on your own wall decor project, choose your favorite prints and check out some of my favorite frames!