There’s just something awesome about holding prints in your hand. Even if you see them every day on your phone or your computer, knowing that you’ll have them forever is still a really cool feeling.
Printing BIG photos is like multiplying that excitement by 100! The only challenge is...how do you display such huge works of art without paying an arm and a leg for framing?
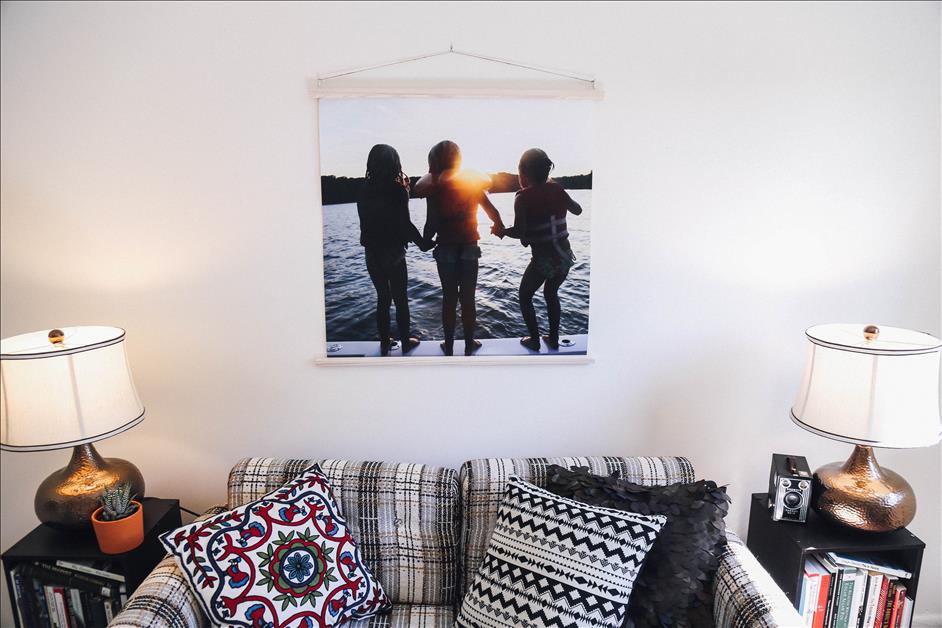
Well, it’s not as hard as it sounds to create a wall display that works for prints of all sizes. Think outside the frame, and try this super easy, DIY display instead!
How to Make Your Own Picture Frame for Large Photo Prints:
What You'll Need:
- Photo Prints (we chose one 30x30” and one 30 x 40” print)
- Wood trim
- Jute, twine, or hemp
- Screw hooks (2 per photo)
- White acrylic paint
- Foam paint brush
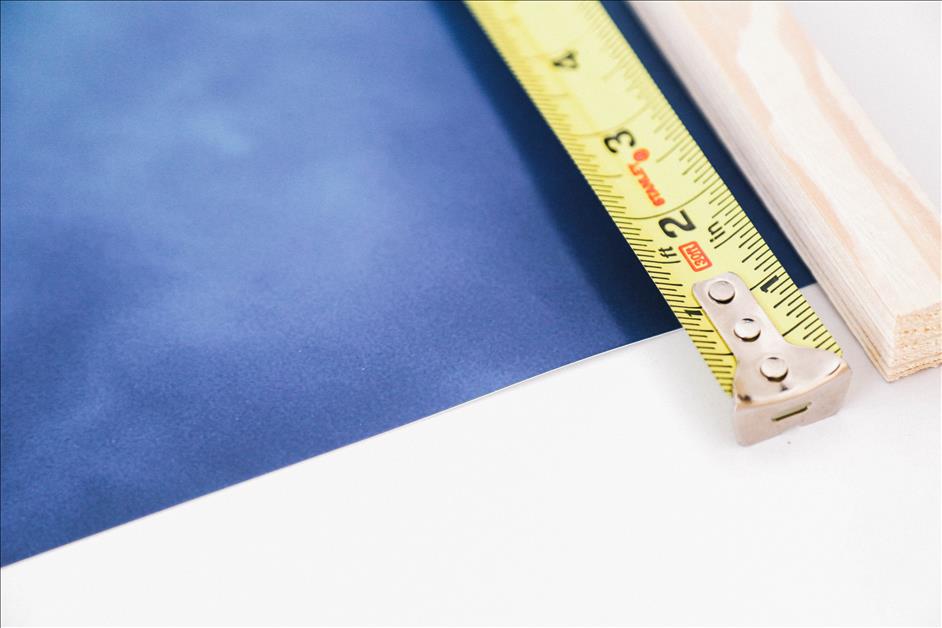
1. Purchase your wood trim.
Head to the lumber section at the hardware store, and look for the “trim” section. Once you find the perfect pieces, ask one of the friendly folks there to cut it down to the size you need.
We recommend leaving at least 1” of wood trim on either side of the print, so be sure to purchase pieces that are 2” longer than the top and bottom of your photo print.
2. Paint or stain the wood pieces.
Create some whitewash by mixing water and white acrylic paint (to the consistency of whole milk). Use the foam paintbrush to paint two coats of whitewash onto each side of the wood trim pieces.
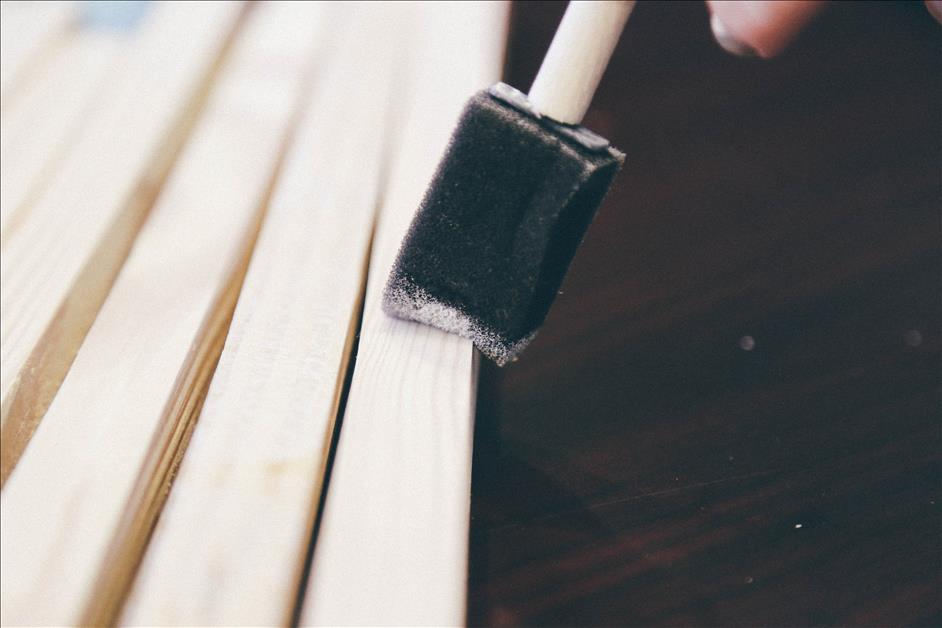
You can also try different colors of acrylic paint to add a pop of color to your display!
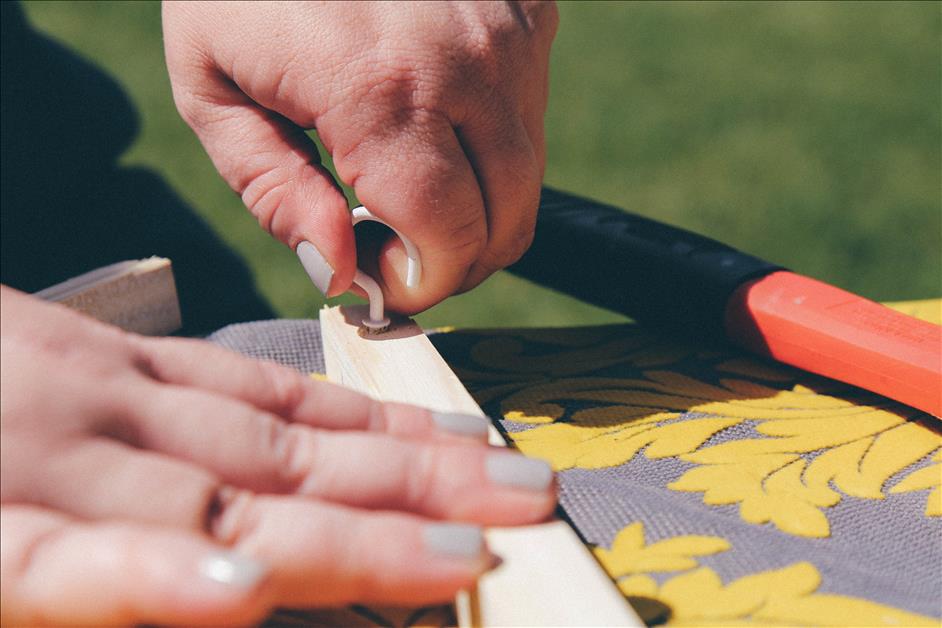
3. Screw in the hooks to the top of the wood trim.
Use a ruler to measure 1" away from the edges of the wood trim. Make a mark where your hook screws will go. Then, push the screw end of your hooks into the top of the wood trim.
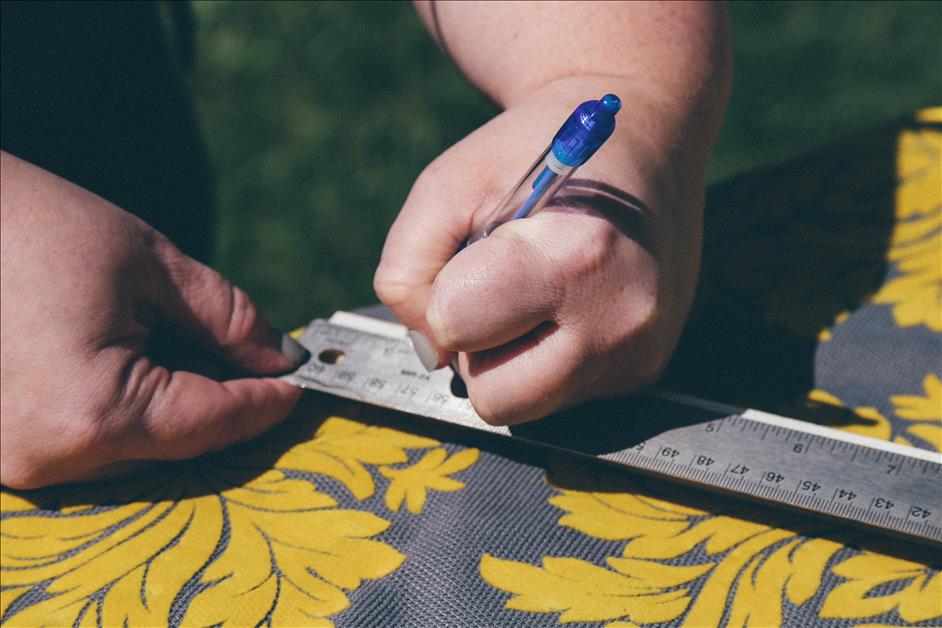
Fasten one screw hook on the right side and the left side of where the print will be fastened.
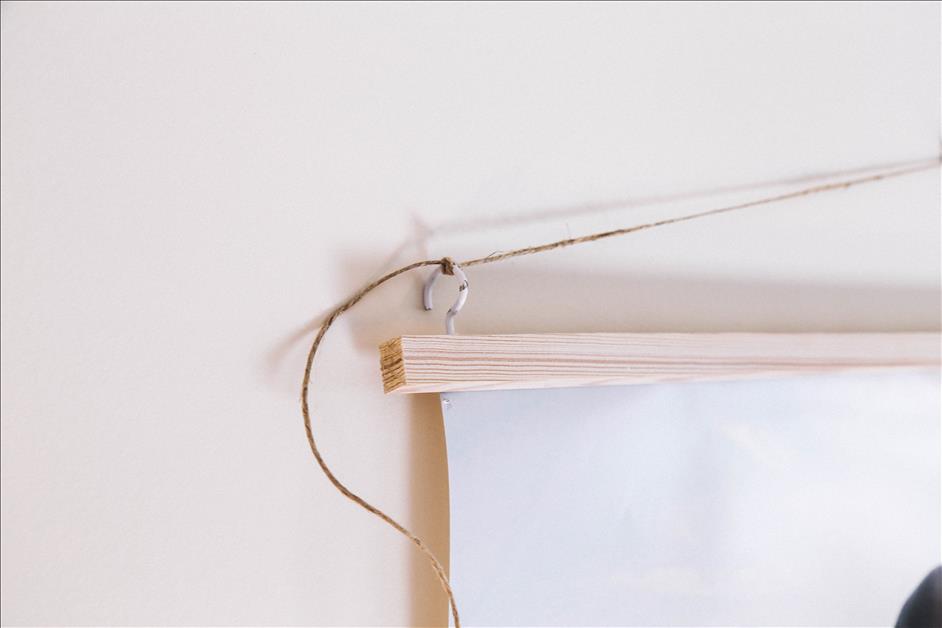
4. Tie the twine around the hooks to create a loop for hanging.
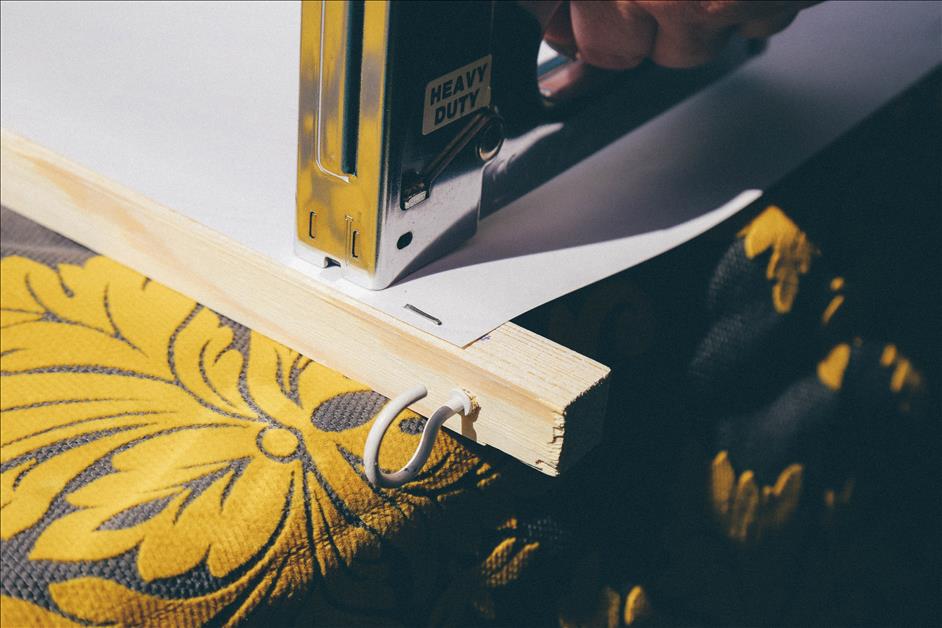
5. Use your staple gun to carefully adhere your print to the wood trim.
Make sure to check throughout the process that the print is still aligned correctly. We recommend to use one staple every 1-2 inches, for maximum stability.
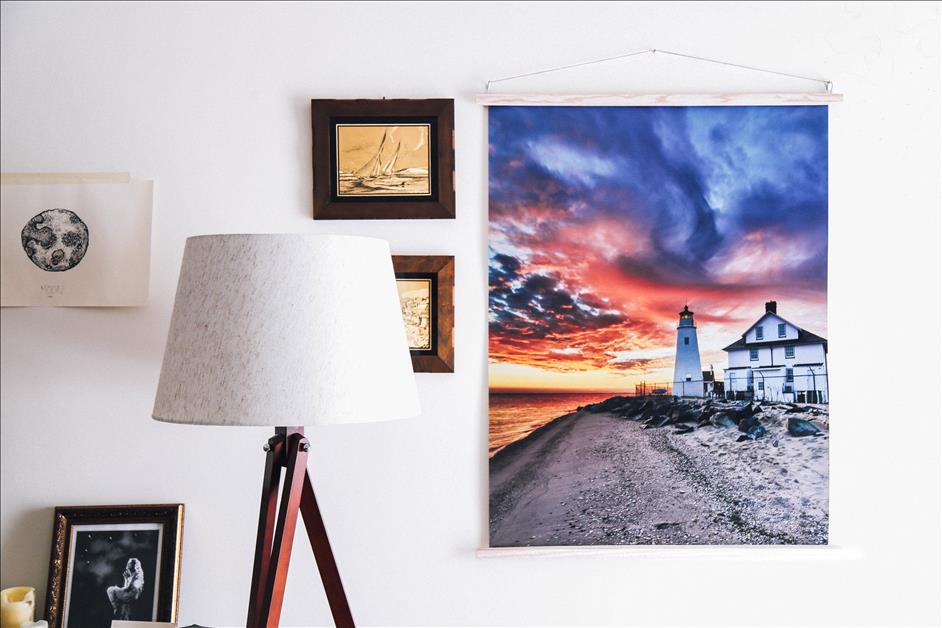
6. Hang your finished wall art wherever you please!
Click here to order your large format Photo Prints today, and to give this easy (and totally chic) display project a try! Need help flattening your Prints? We have tips for you at this blog post.
Special thanks to Maureen Porto Photography and Southern Maryland Photography for the beautiful images used in this project!